Clocking terminal - Ethernet/cable connection to your network.
|
Ethernet/cable Connection - Static IP on your network is required To connect the clocking terminal to your network firstly power on the clocking terminal. Using Ethernet cable, connect the clocking terminal to a network device such as a switch or router.
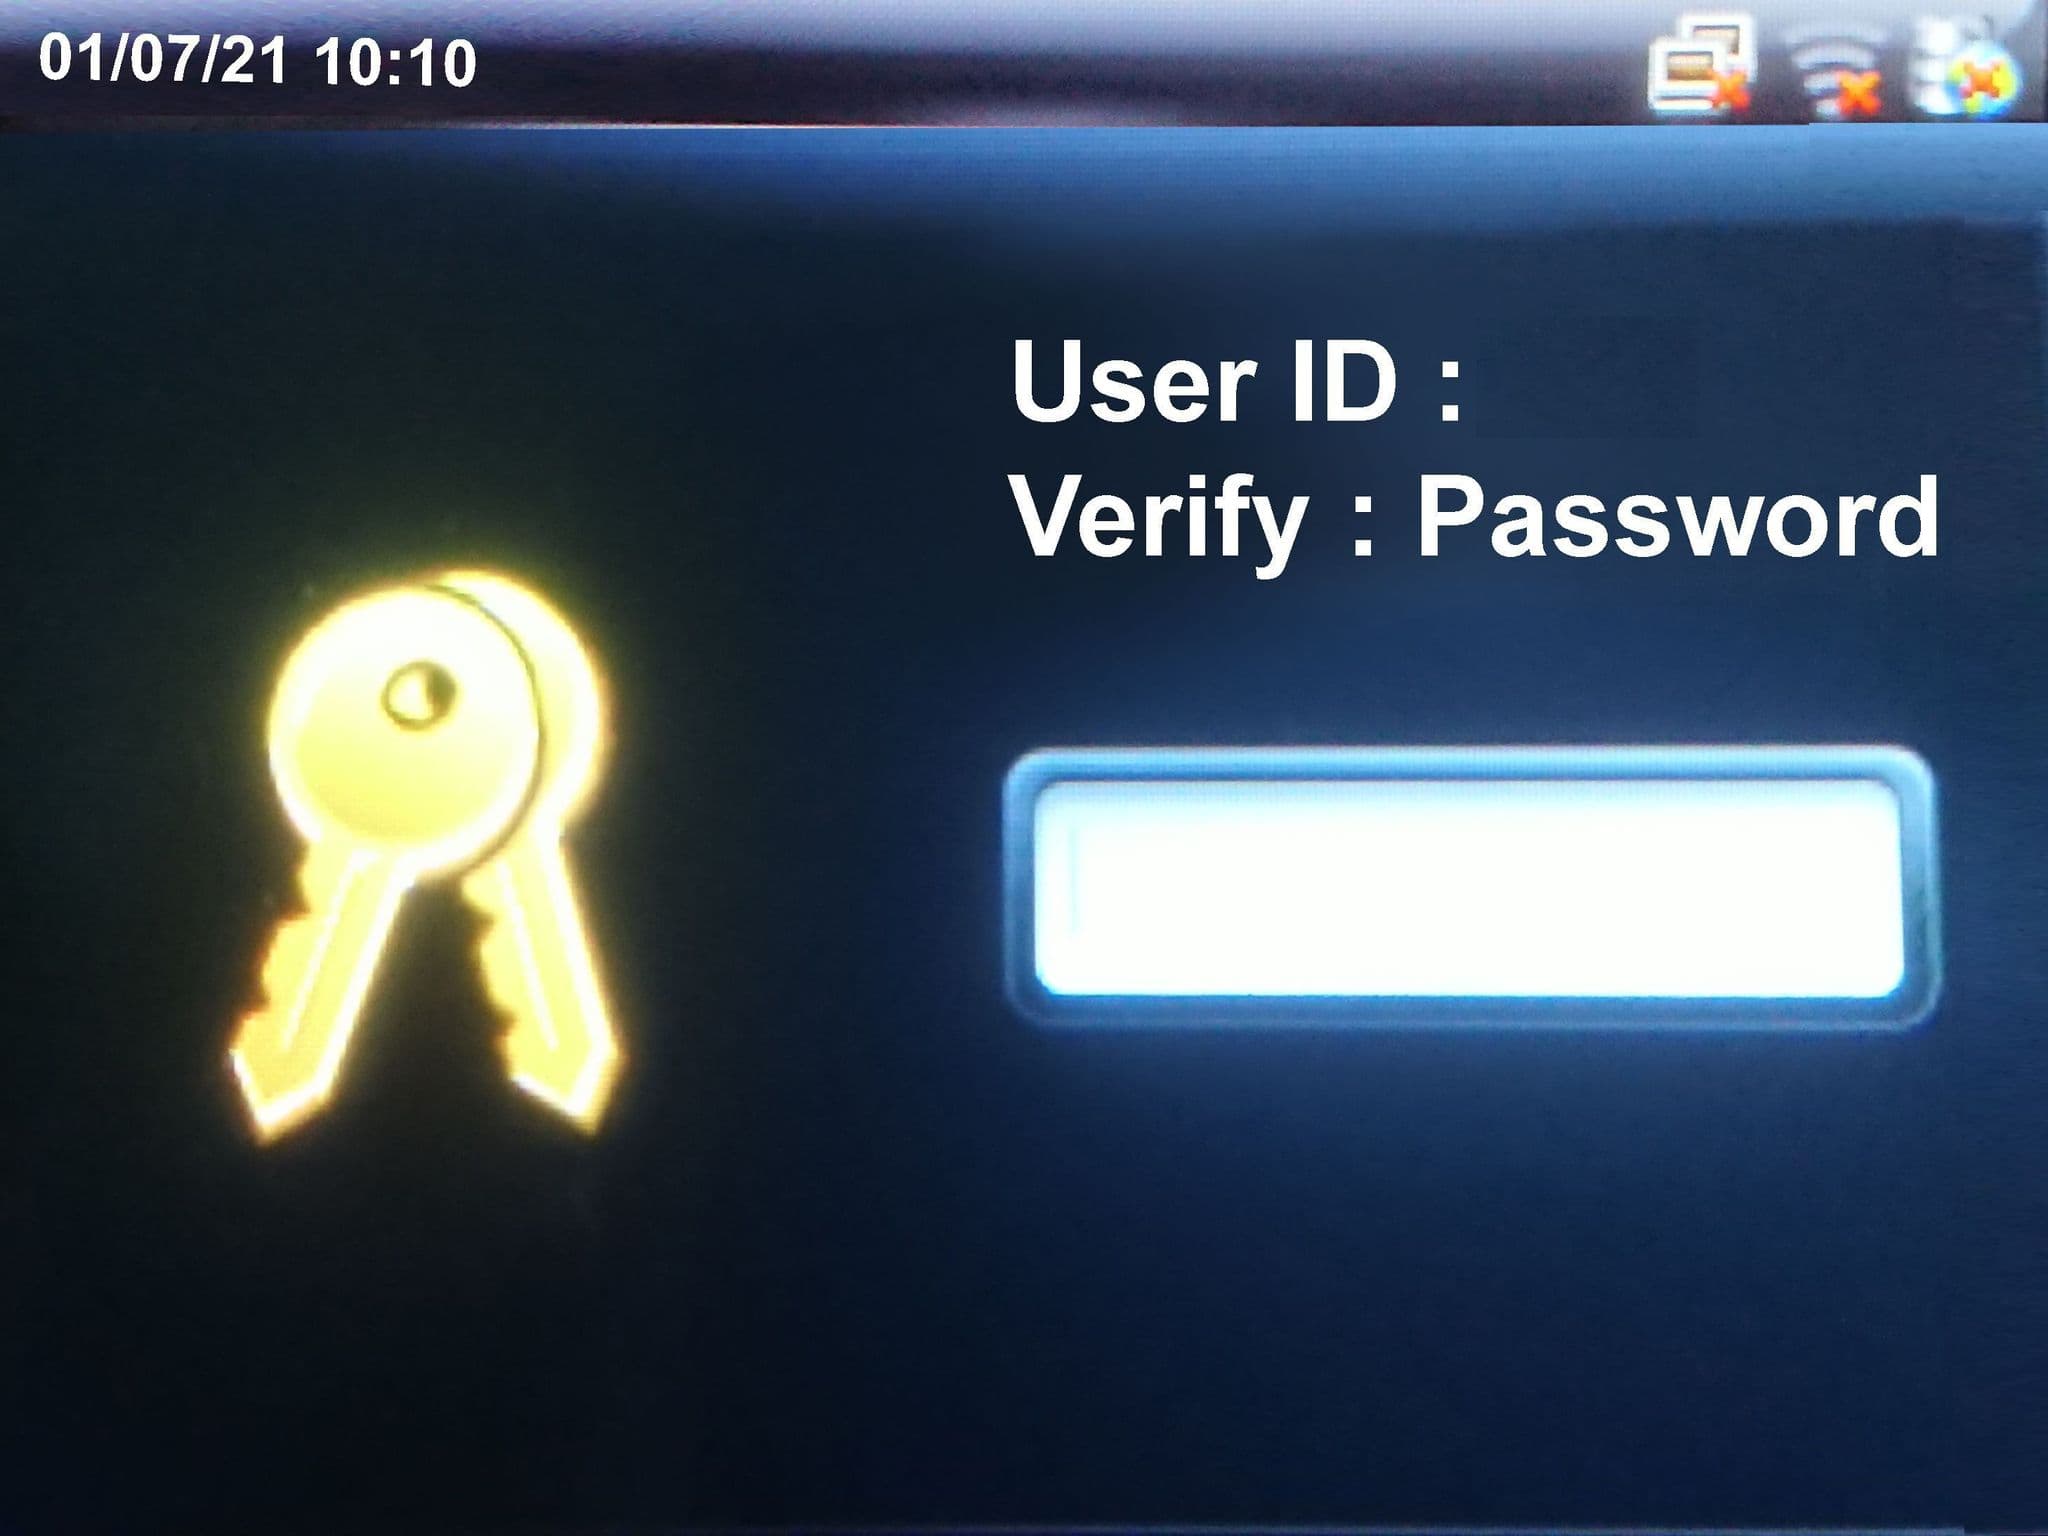
Log in using the username and password provided in the guide supplied with your clocking terminal.
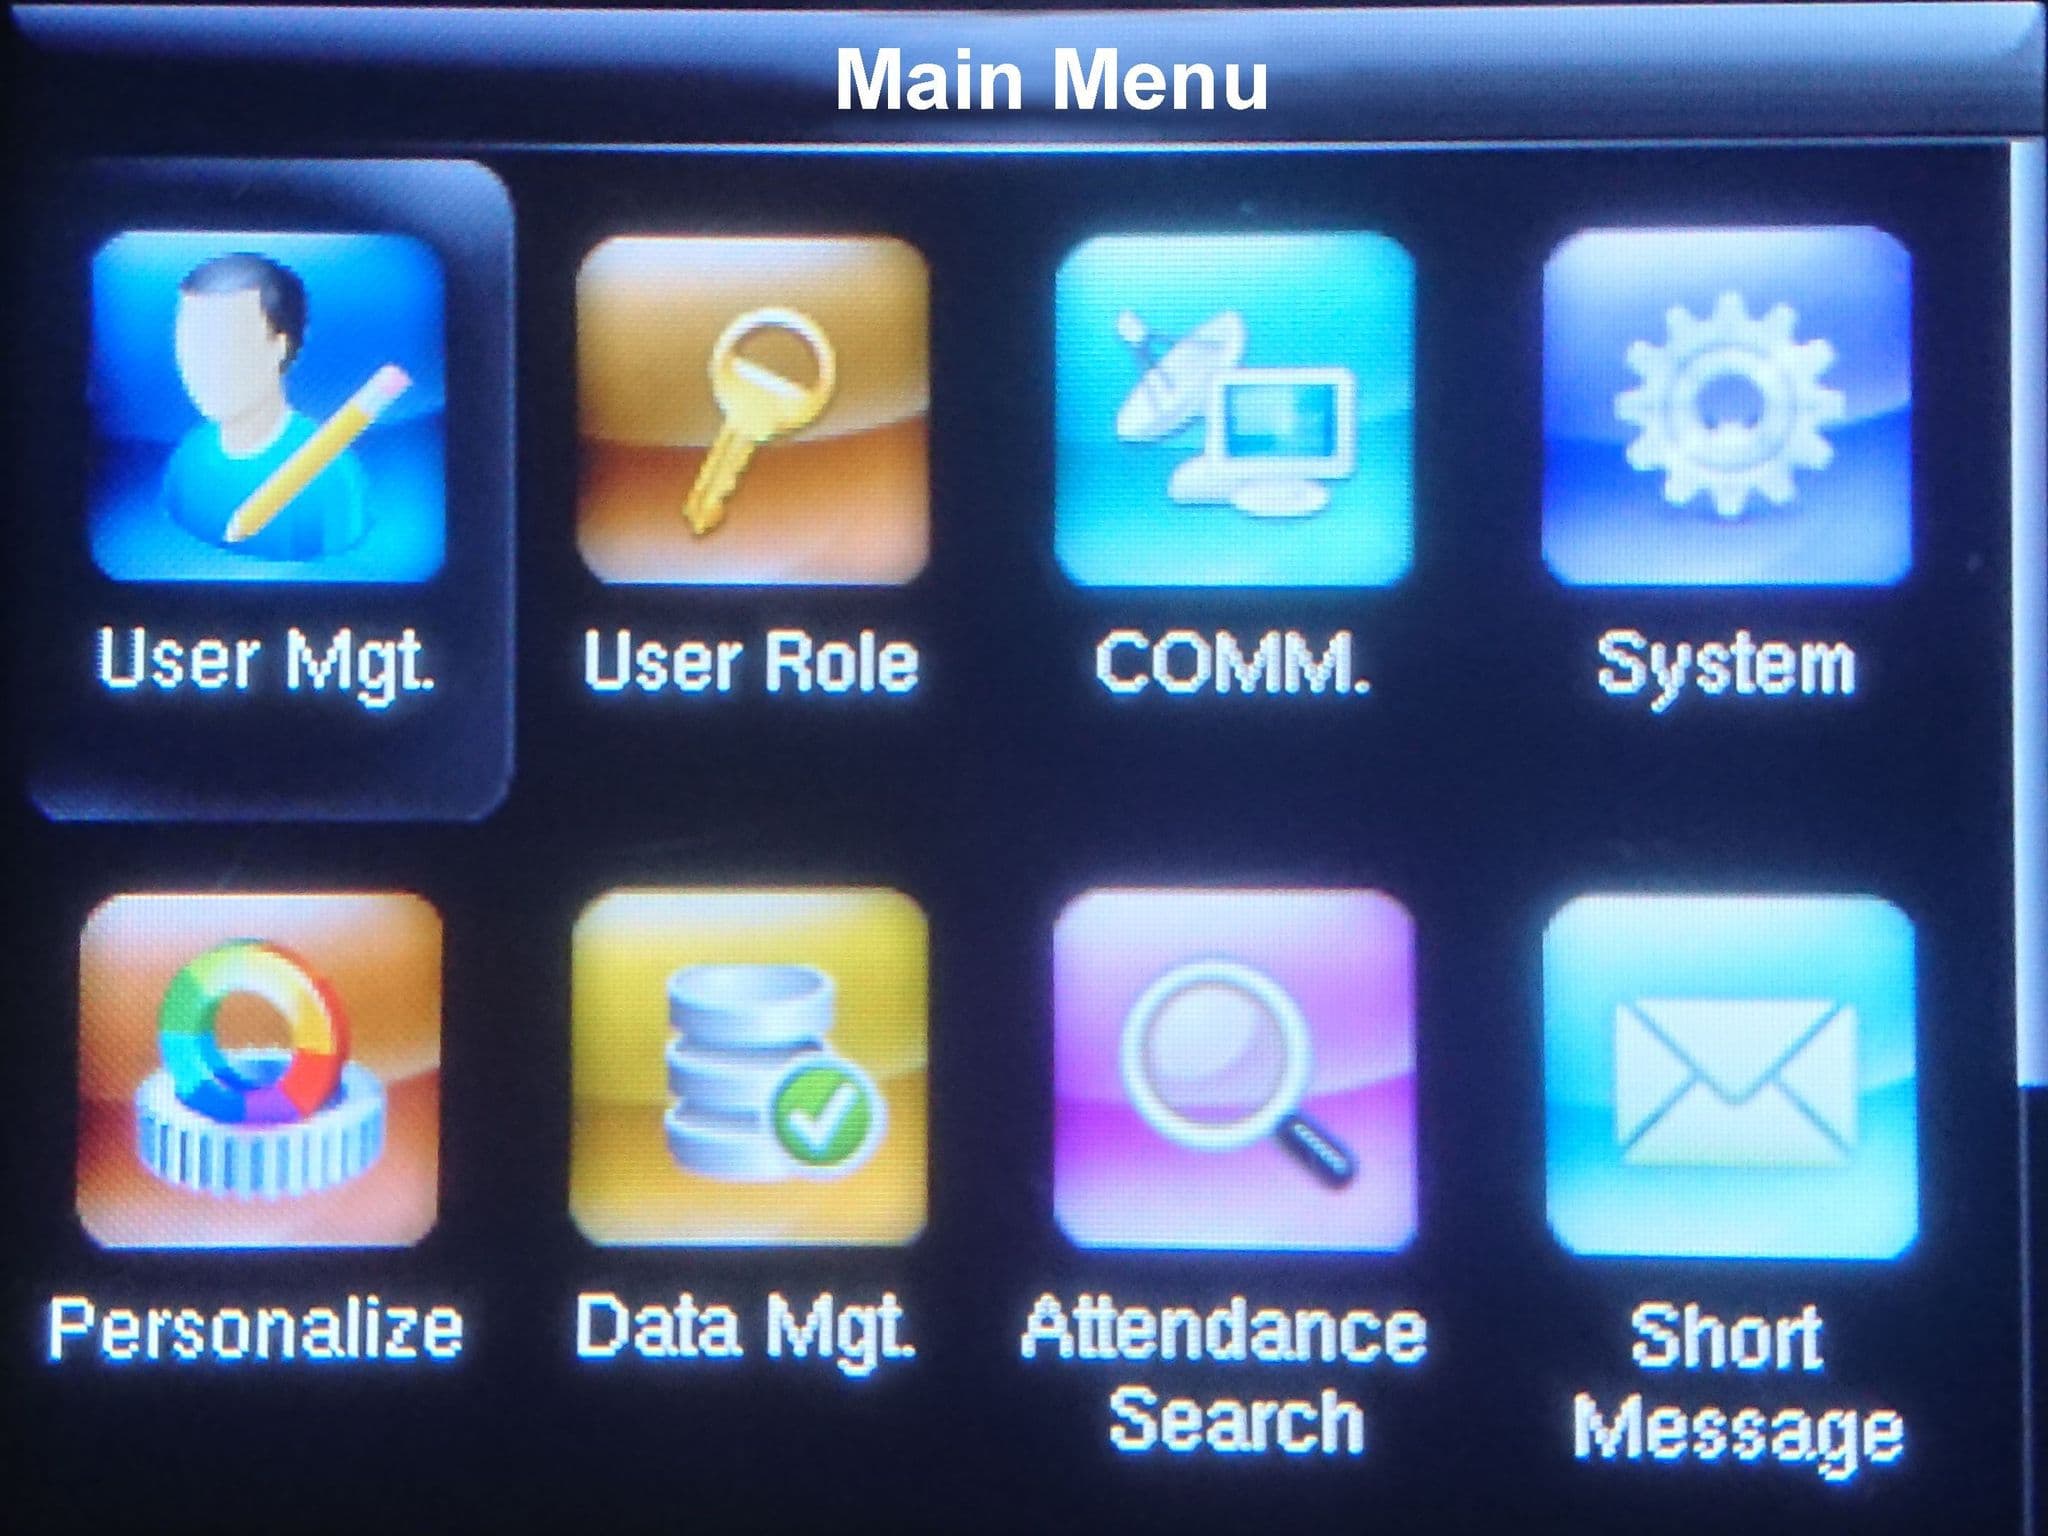
Once logged you will see the “Main Menu” and navigate to COMM.
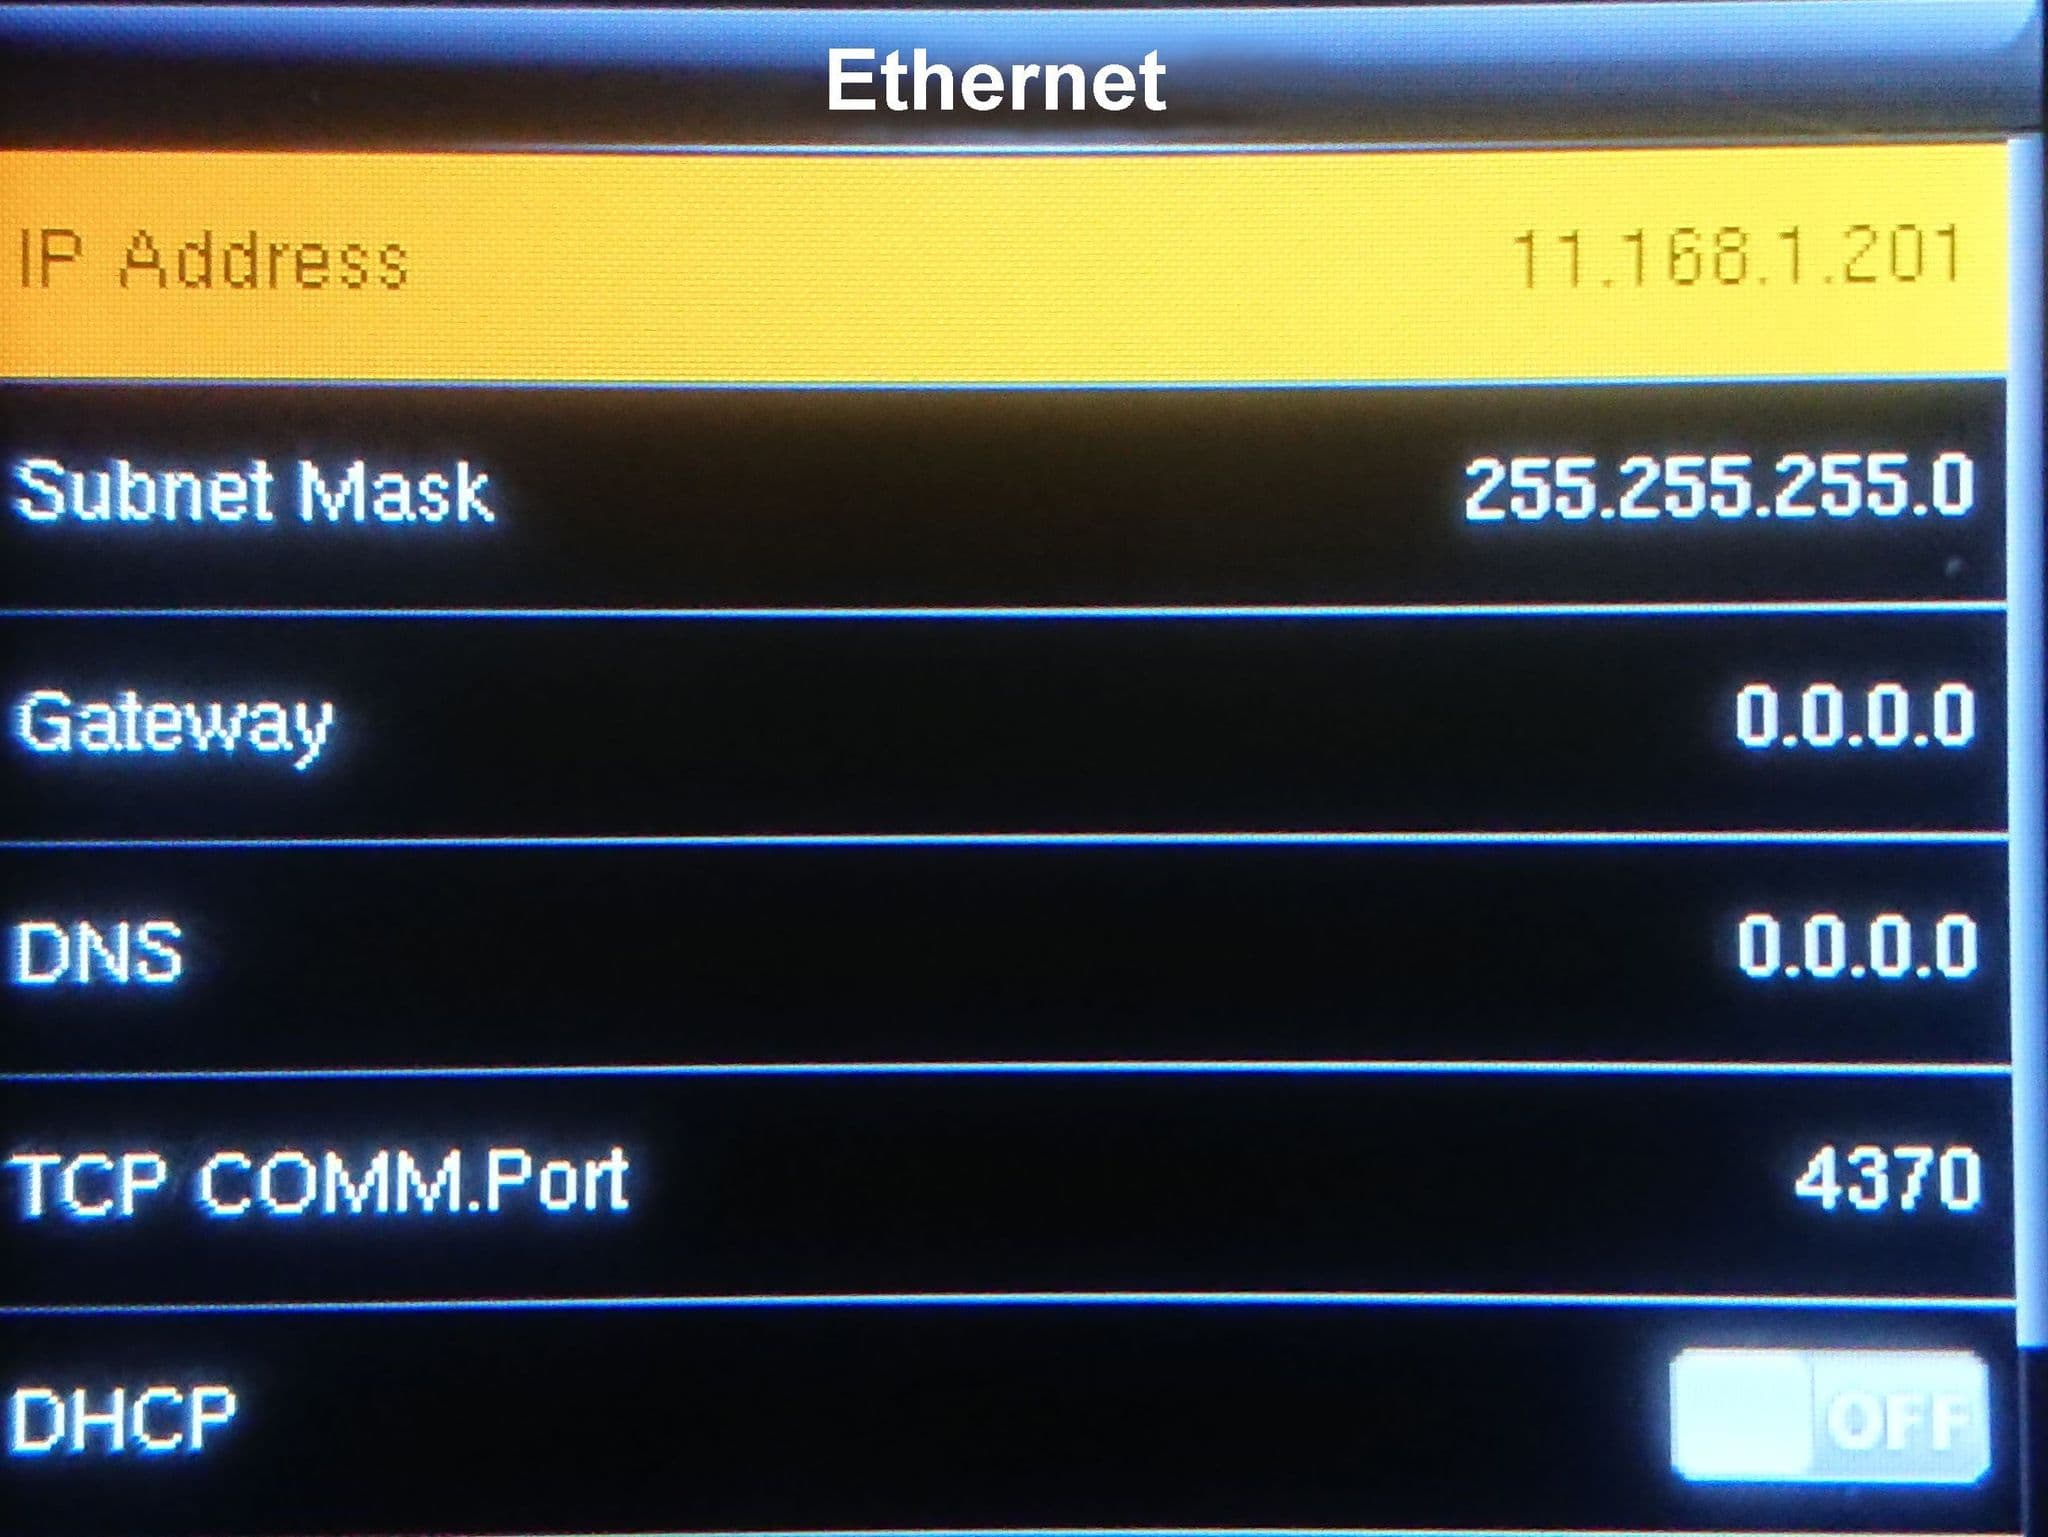
- Select “Ethernet” then select “I.P. Address”.
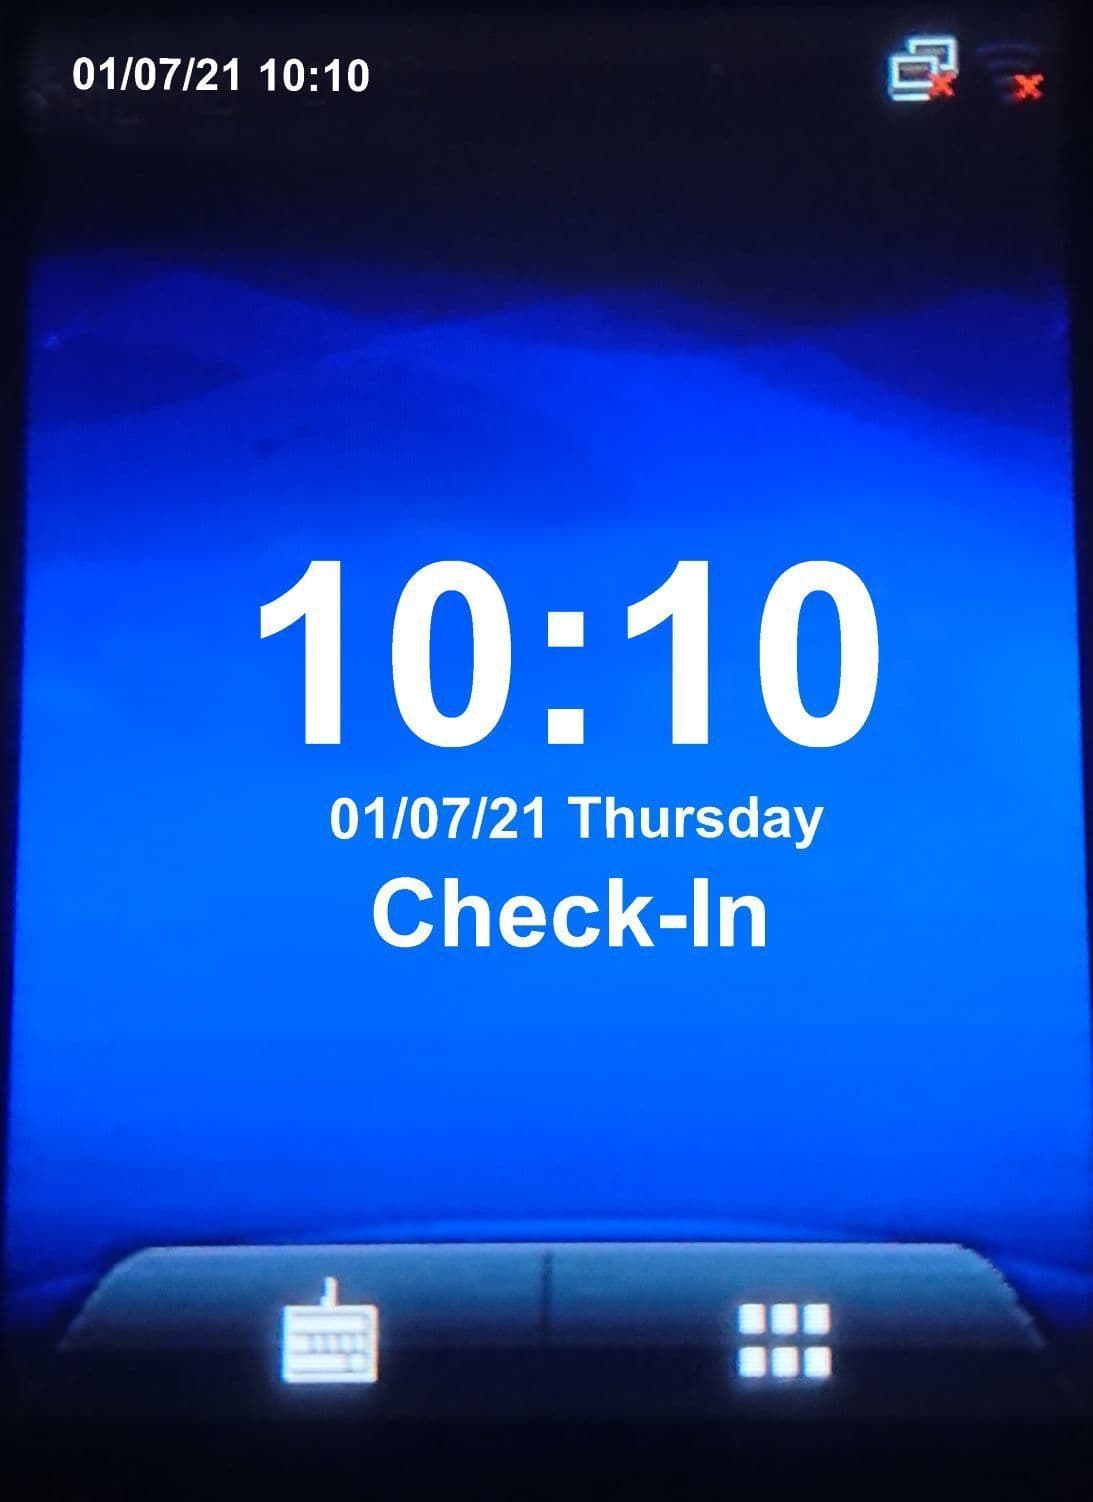
- Input the reserved I.P address, Subnet and Gateway you should have been provided by your IT administrator. If you have been provided a DNS address, this can be added, but not required. If you have problems setting the I.P. address, then check that the DHCP option is turned off. Return to the main screen and you should see the Lan icon in the top right now has changed from No Signal to Connected.
|
 |